DIY Halloween Plaster Painting Activity for Toddlers
I’m always looking for simple activities I can prepare ahead of time and bring out when we need something different to do — and this was our latest experiment.
I used Plaster of Paris and some small Halloween-themed moulds to make a collection of little figurines for my daughter to paint. It was incredibly simple — and much quicker to prepare than I expected.
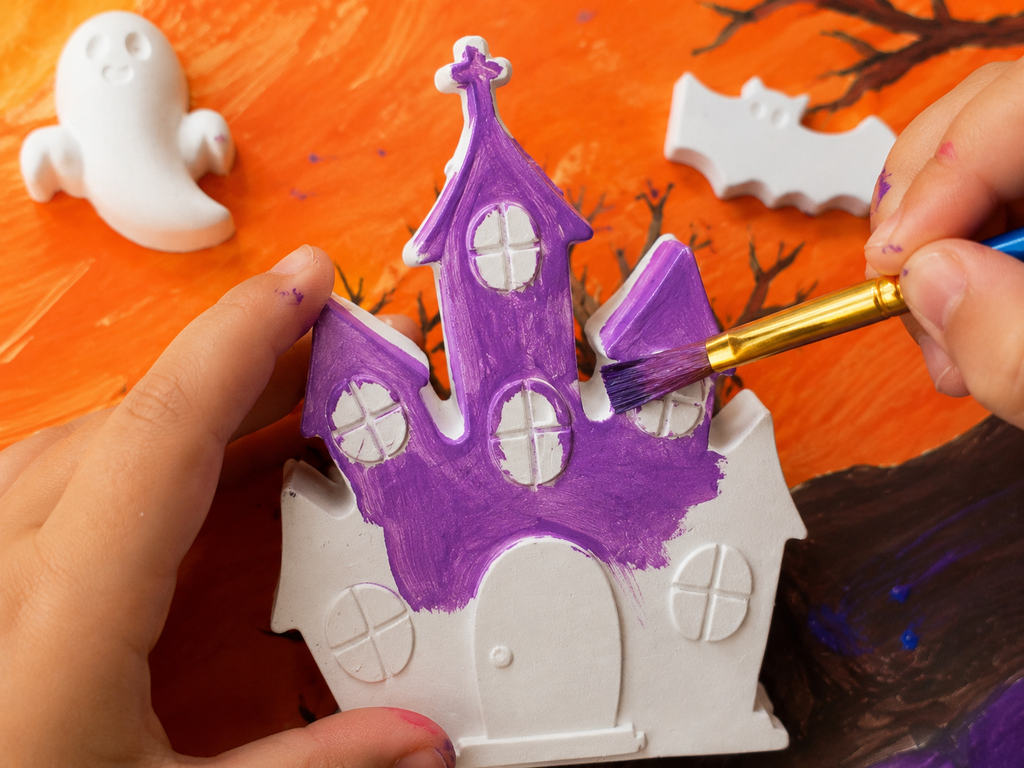
Once they had completely set, I put out some paints and brushes and let her take over. She spent at least half an hour carefully painting the little figures, which is a pretty good return for such a quick DIY.
But the activity didn’t end there. Afterwards, we painted a Halloween scene together on orange paper to create a backdrop for the finished figurines. Once everything was dry, the little plaster characters became part of her Halloween role play, turning what started as a simple painting activity into something she could continue playing with afterwards.
Disclaimer: This post contains affiliate links. I may earn a small commission at no extra cost to you. As an Amazon Associate I earn from qualifying purchases.
Halloween Plaster Painting: At a Glance
Age: We did this at 3 years old
Prep: Around 10 minutes
Demould: Around 1 hour
Painting: We waited until the following day
Hands-on time: 30+ minutes of painting
Best for: Painting, creativity and imaginative play
Adult prep: Yes — I mixed and poured the plaster myself
⚠️ A quick safety note: I handled all of the plaster mixing and pouring myself and only gave the finished, fully dry figurines to my 3-year-old daughter for painting. The small plaster pieces can break, and some are small enough to pose a choking hazard, so close adult supervision is important, particularly with younger children.
What You’ll Need
You don’t need much for this activity, and most of the preparation is done before your child gets involved.
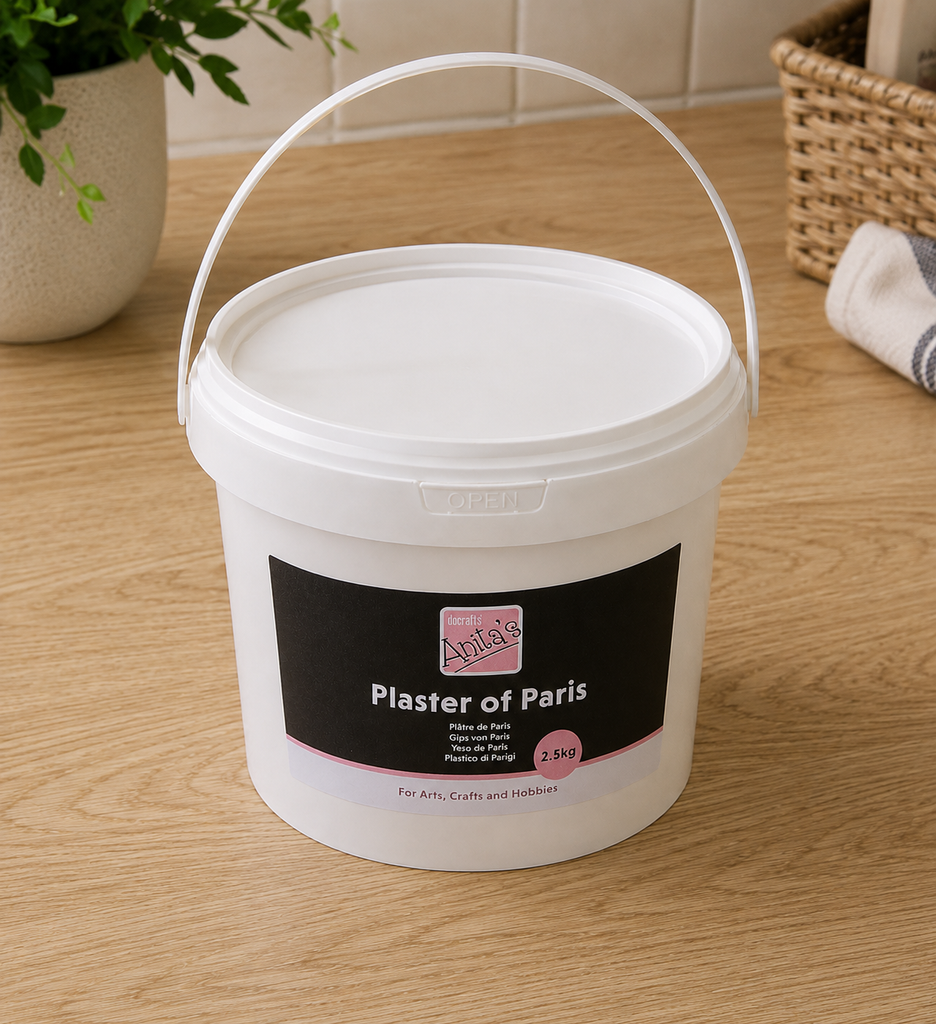
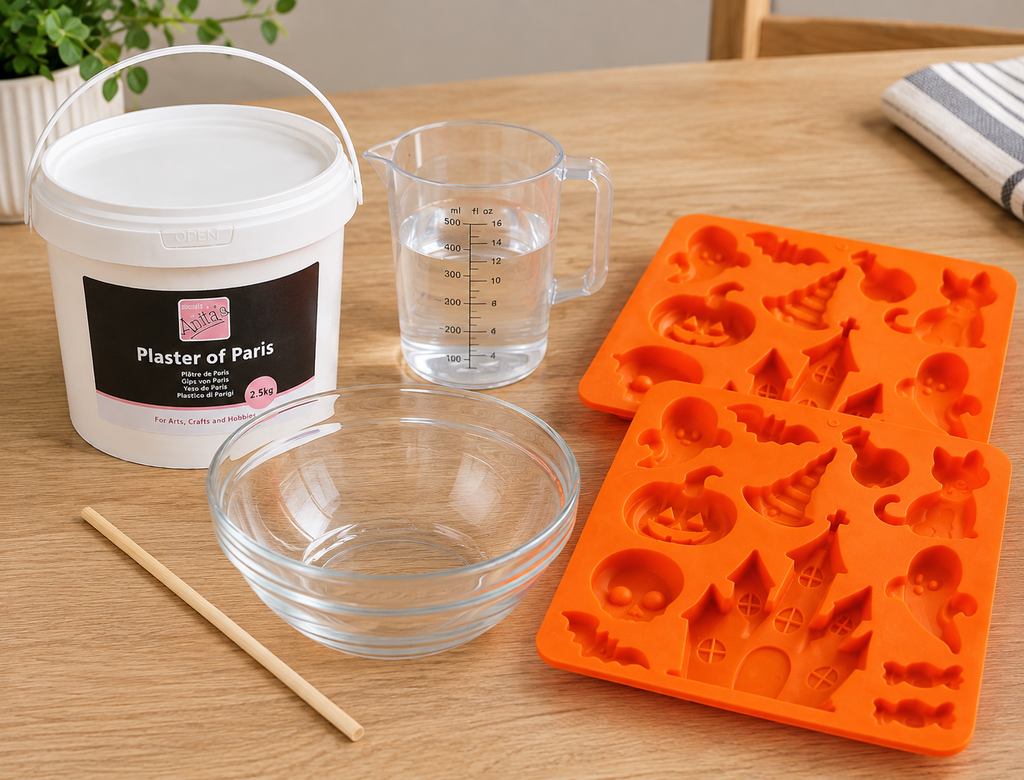
- Plaster of Paris — 2.5 kg
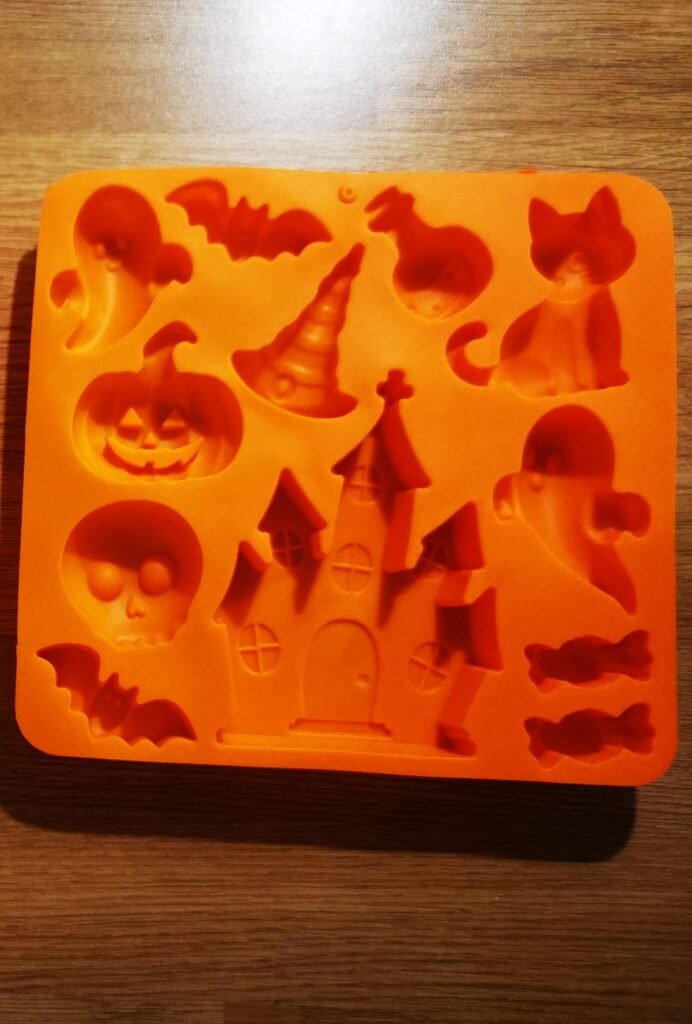
- Halloween silicone moulds — we used two identical moulds with a mixture of small Halloween characters and larger haunted houses
- Water
- A bowl or disposable container for mixing
- Something to stir with — we used an old chopstick
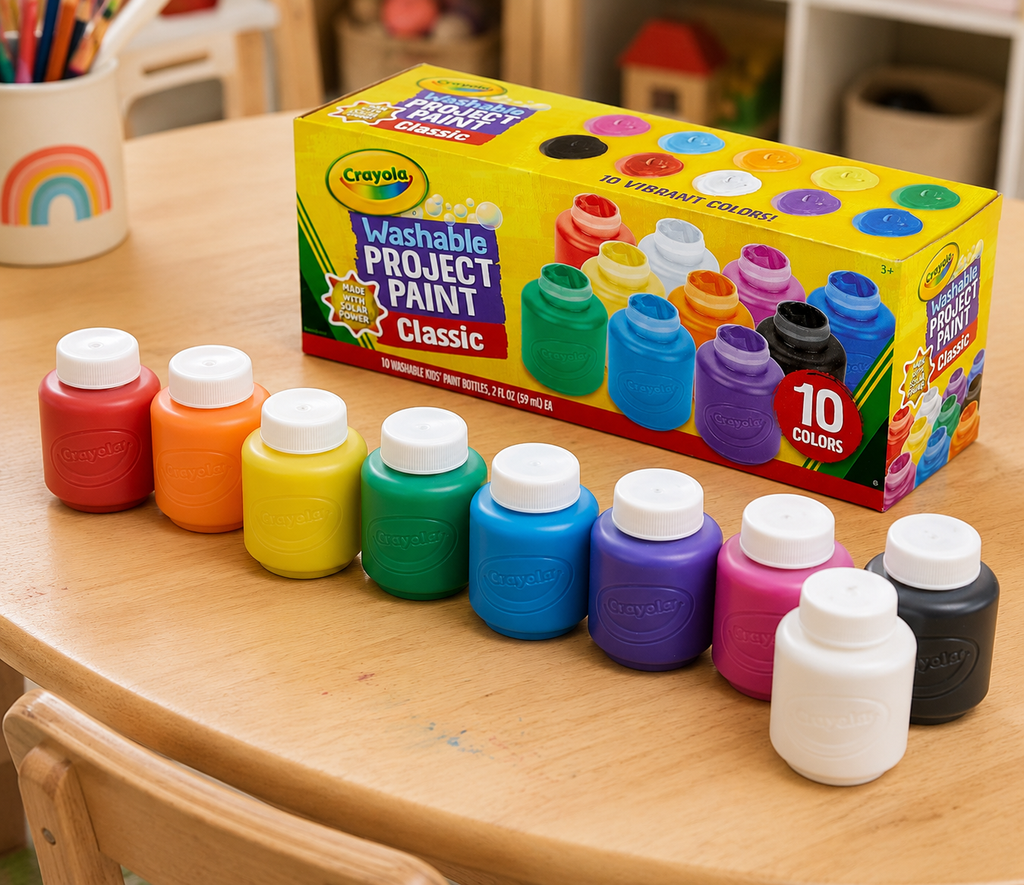
- Child-friendly, non-toxic paint
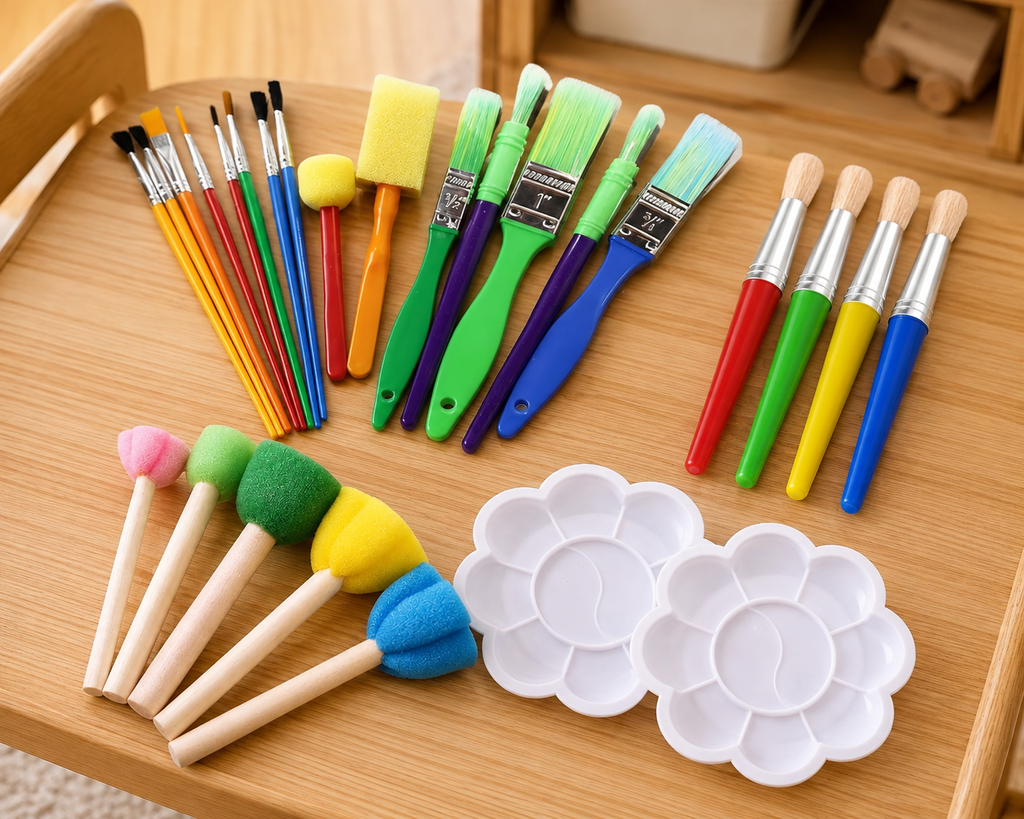
- Paintbrushes and palette
- Paper or a washable mat to protect your table
Click on images to see the exact products we used →
How to Make the Plaster Halloween Figurines
1. Get everything ready before mixing
This is worth doing first because Plaster of Paris starts to harden surprisingly quickly. Have your moulds sitting on a flat surface, with your water, plaster and mixing container ready to go.
I made the plaster pieces myself and saved the painting for my daughter once they were completely set.
2. Mix two parts plaster to one part water
For both of our Halloween moulds, I used roughly 500 g of powder in total.
The mixing ratio I used was approximately two parts plaster powder to one part water by volume, not weight. You don’t need to be overly precise: you’re aiming for a smooth, pourable consistency slightly thicker than double cream, so it can easily flow into all the smaller details of the moulds.
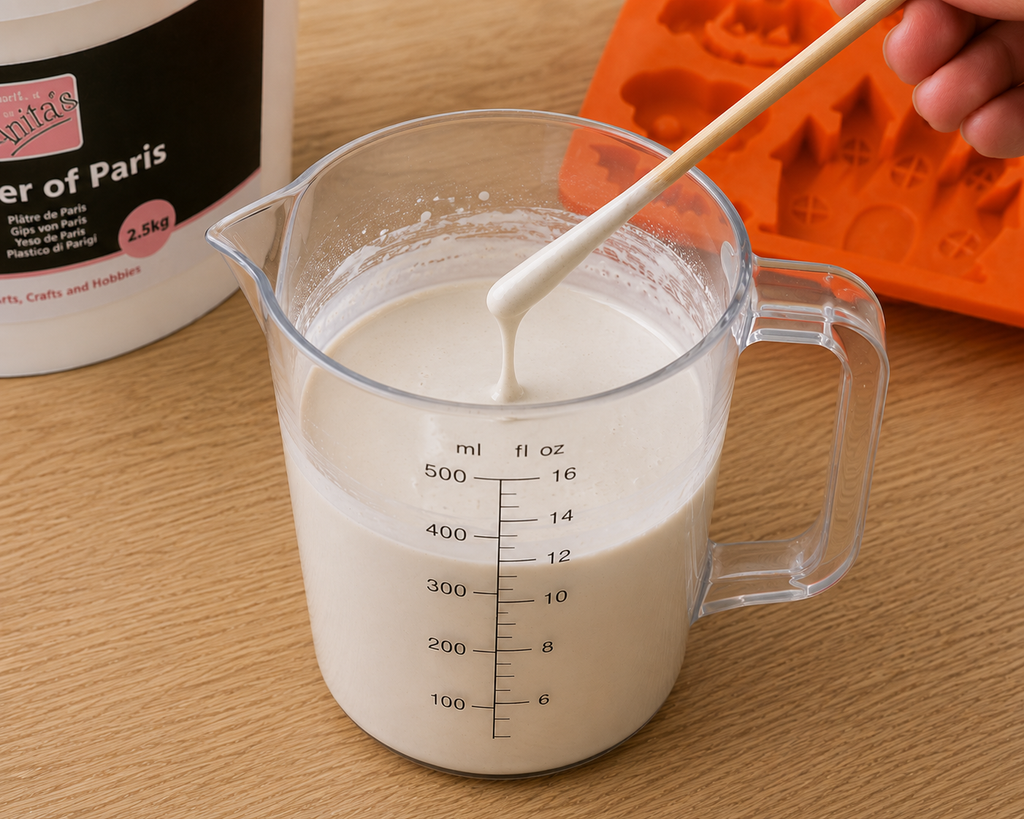
Don’t worry if the mixture ends up slightly on the runny side. I found this much easier to work with than making it too thick. Plaster of Paris starts setting surprisingly quickly, so a mixture without enough water can become difficult to pour before you’ve filled all the shapes.
Note: Follow the mixing and safety instructions for your particular Plaster of Paris if they differ, as products and recommended ratios can vary.
3. Pour it into the moulds
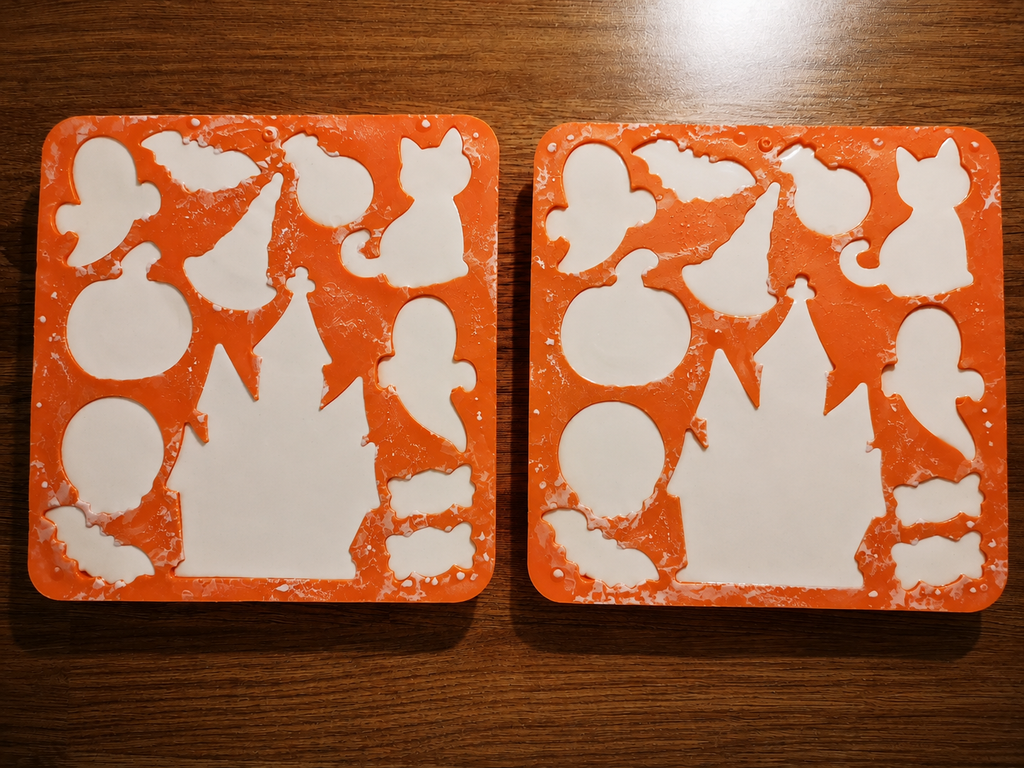
Carefully fill each cavity with plaster. The little shapes don’t require much, but the haunted houses take considerably more.
Once filled, I’d give the moulds a gentle tap against the table to help the mixture settle into the smaller details and encourage trapped air bubbles to rise.
4. Leave everything to set completely
We left ours in the silicone moulds for about an hour, by which point they felt firm enough to carefully remove.
5. Carefully remove them from the moulds
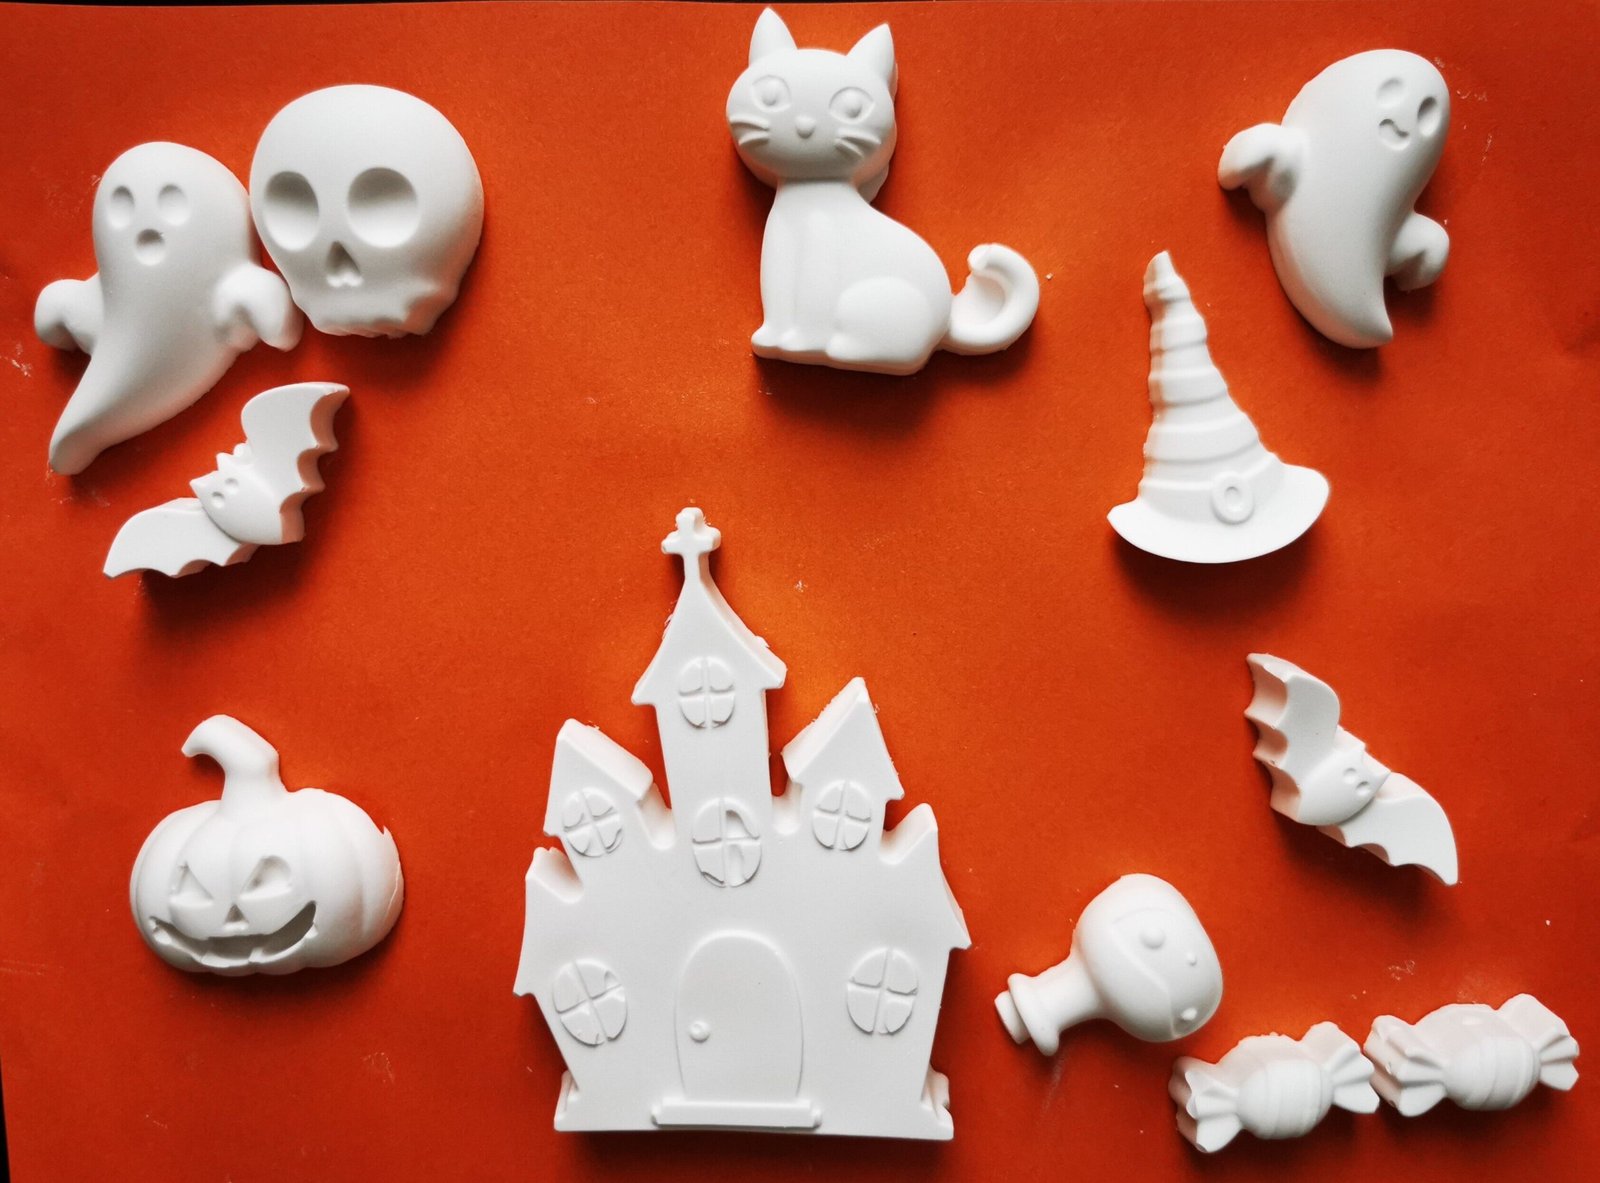
Once firm, gently flex the silicone away from the plaster rather than pulling on the figurines themselves. This is particularly helpful with the smaller shapes and thinner details, which can be more delicate.
Ours came out surprisingly easily, and then we simply left them until the next day ready for painting.
Worth knowing: Setting and drying times can vary depending on the Plaster of Paris you use, the amount of water added and the size of your moulds, so follow the instructions on your own product too.
Painting Our Halloween Figurines
The next day, once the plaster figurines were completely dry, it was time for the fun part. I set them out with some washable children’s paints and a few paintbrushes and let my daughter decide what each one should look like.
I wasn’t expecting it to hold her attention for quite as long as it did, but she happily painted for at least half an hour, working her way through the different ghosts, pumpkins, bats and other little Halloween characters.
There was no particular end result we were aiming for. The whole point was simply to let her choose the colours, experiment with painting the different shapes and make them her own.
We Turned Them Into Halloween Small World Play
Rather than stopping once the figurines were painted, we decided to make them somewhere to live.
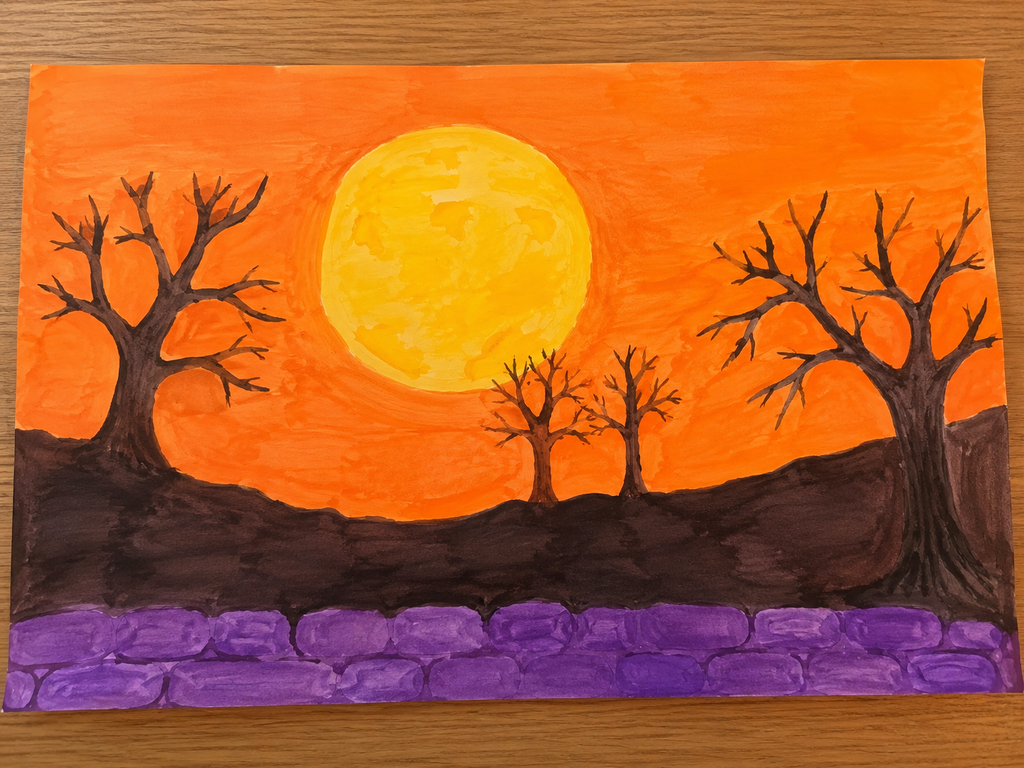
We took a large piece of orange paper and painted a simple Halloween scene together to use as a backdrop. Once everything was dry, we added the plaster characters and suddenly our painting activity had turned into a little Halloween world she could use for imaginative play.
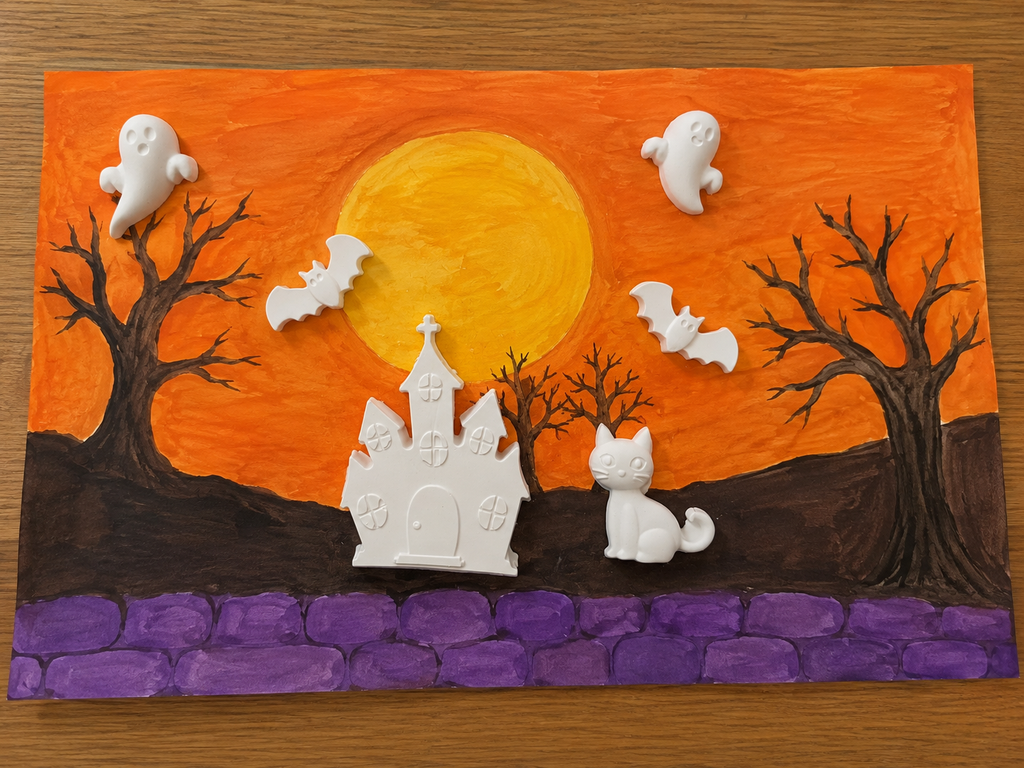
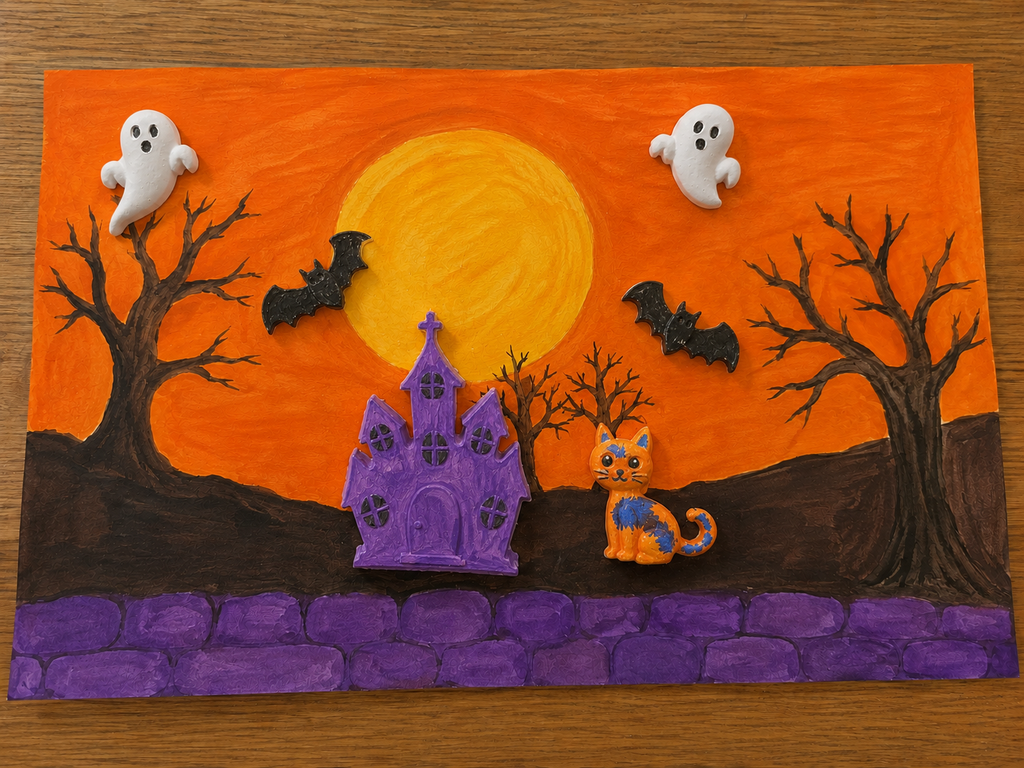
That was probably my favourite part of this activity. The finished craft became a toy rather than something we simply made and put away.
What I’d Do Differently Next Time
Very little, actually. The main thing I learned was not to make the plaster mixture too thick. It begins setting quickly, and a slightly more fluid mixture was much easier to pour into all the little details of the mould.
I’d also make the figurines the day before again. It meant the messy preparation was completely separate from the activity itself — the next day, all I had to do was put out the paints and let her get started.
Try It With Other Themes
The same idea could easily be repeated throughout the year by simply changing the silicone moulds. Dinosaurs, animals, Christmas shapes, vehicles, flowers or sea creatures could all work — and once you have the Plaster of Paris and paints, you already have most of what you need.
We’ll definitely be trying the Christmas moulds next. I love the idea of painting our own plaster Christmas decorations to hang on the tree, especially as they’ll be something my daughter has made herself and we can bring out again each year.
And the moulds don’t have to be just for plaster. Food-safe silicone moulds can also be used to make little themed chocolates, so I’m planning to try some child-sized Christmas chocolates too. Just make sure any mould you use for food is specifically sold as food-safe, and I’d keep our craft moulds and food moulds separate.
You Might Also Like
Looking for more simple ways to keep little hands busy? You might also enjoy:
- Best Toys for 2 Year Olds That Encourage Independent Play
- 21 Montessori Pumpkin Activities for Toddlers Using Just One Pumpkin
- Simple Activities for Speech Delay and Late Talkers
- How to Create a Calm Corner for Toddlers
You Might Also Find Helpful